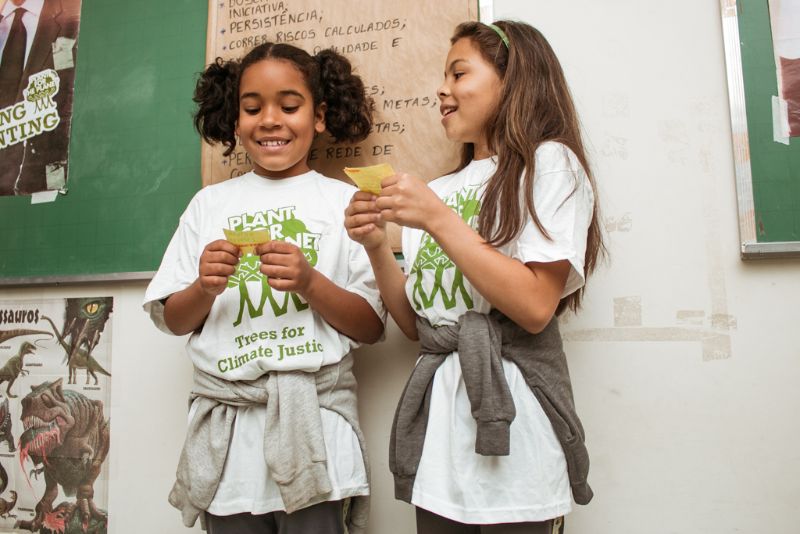
Plant-for-the-Planet Toolkit
Fund, Manage & Monitor Restoration Projects
Join a community of nearly 300 projects
Join Now
Showcase your project on the Plant-for-the-Planet platform and collect donations
Set your own price
and decide if you want to fundraise per tree planted or per m2 restored
0% Commission
Free to use
and benefit from the following features
Coming Soon
Remote Sensing
Satellite-Based Monitoring

With the help of satellite data from NASA and ESA, we estimate the carbon captured in your project site & much more.
See Example
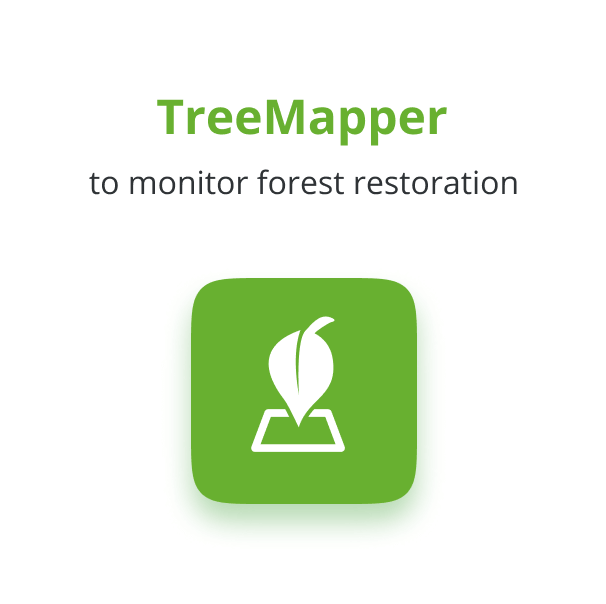
Treemapper
Ground-based monitoring
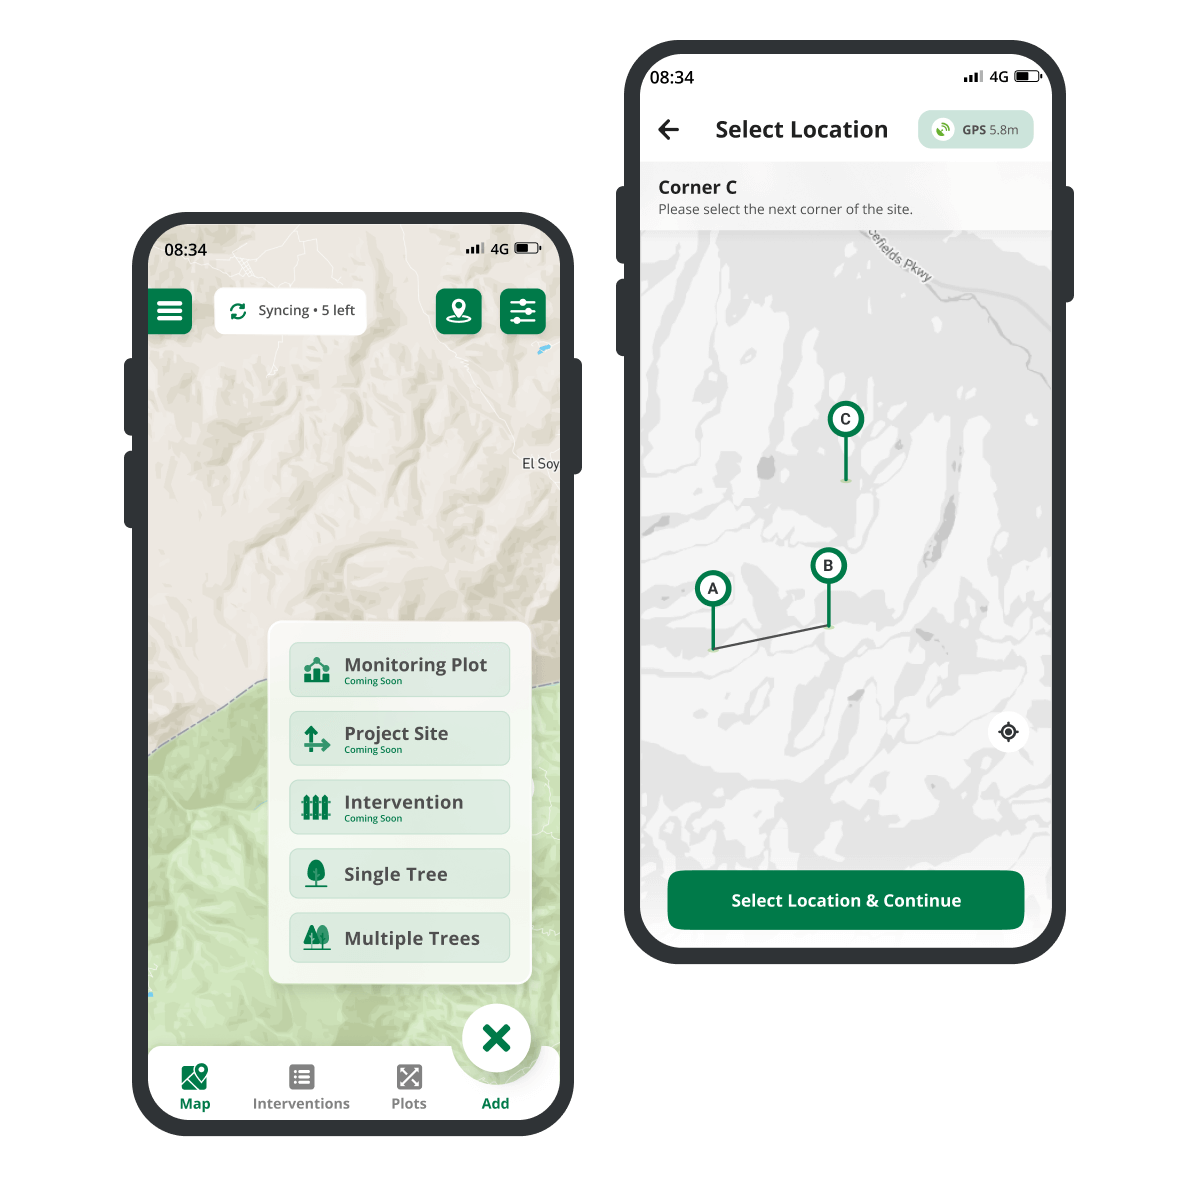
Use TreeMapper to track and monitor your restoration project. Use the data to learn how to improve your restoration work and calculate your impact.
Maximum Transparency
With one click, you can make your monitoring data publicly available to share your impact with your donors.
Make monitoring data public
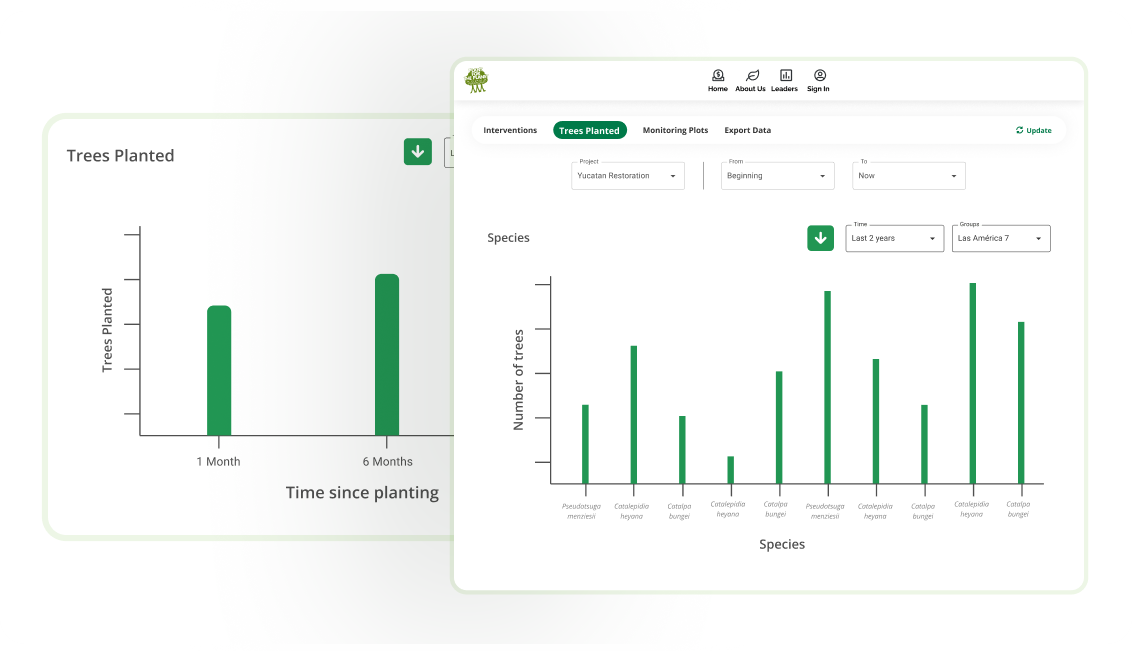
Data Explorer
Learn from your data with DataExplorer or download it to analyse it in Excel or Python.
Data Explorer
Project Reviews
Ensure you meet all standards
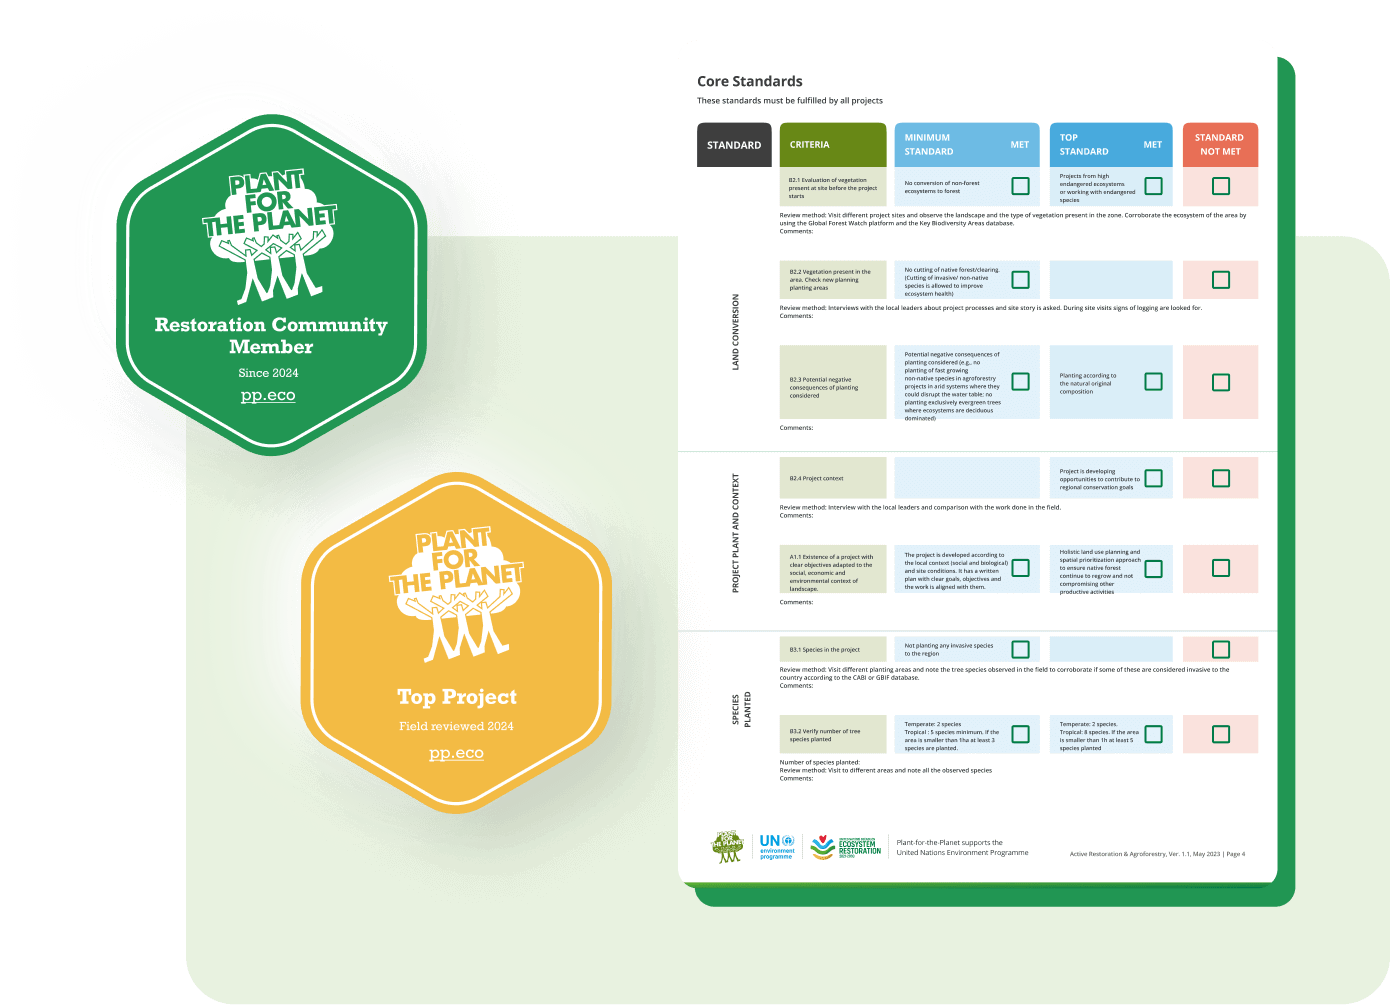
To ensure you meet all our forest restoration or conservation standards we conduct an off-site review before you can begin to collect donations. In a second step a reviewer will visit your project on the ground for a field-review.
See Standards
Widgets
Make your project transparent through your website
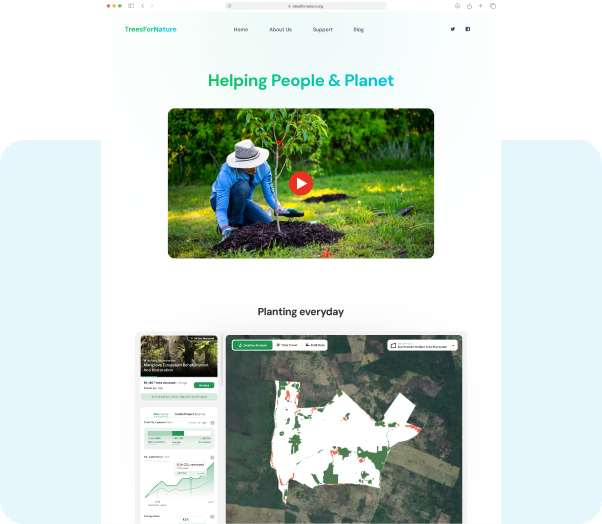
Easily integrate our project widget in your website. All your visitors will be able to see your project sites, explore satellite data, TreeMapper data and more.
See how
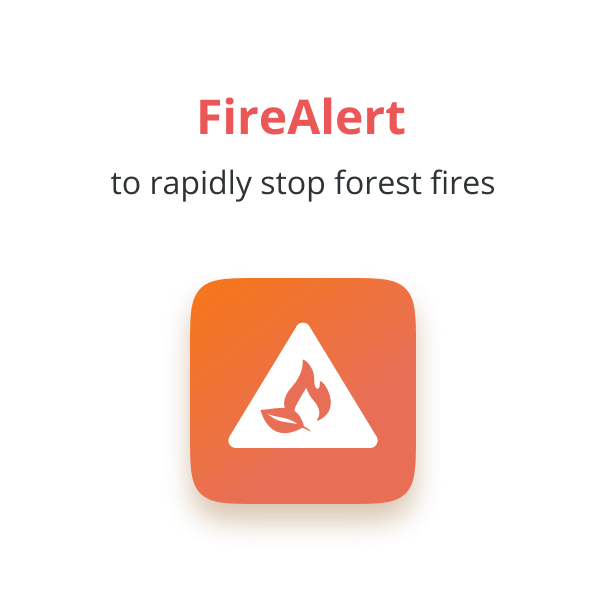
Fire Alert
Address forest fires

Free alerts when likely fires are detected by NASA’s satellites
Restoration Advice
Your restoration questions answered
Do you need advice to address challenges in your restoration project? You’re not alone. Lot’s of projects need it. Our team of restoration ecologists provide free, confidential advice.Learn more & contact advisors

Please also note our Terms and Conditions
Contact support@plant-for-the-planet.org for any inquiries.